

You are sewing along, ready to say yes to the next step of your project, when the seam suddenly shows loops, puckers, or dots of the opposite thread color. It is tempting to turn every dial in sight, but most sewing machine thread tension problems have a simpler cause. With a calm diagnostic order, a fresh test swatch, and a few careful checks, you can often restore a balanced stitch without losing momentum or making the problem harder to identify.
Balanced tension is not about forcing every project to use one permanent setting. It is about creating a stable relationship among the upper thread, bobbin thread, needle, fabric, and stitch. Change one part of that system, and the ideal result may change too. That is why the best approach begins with observation and basic setup, not an immediate bobbin-case adjustment.
This guide walks through the same sensible sequence an experienced sewist or technician uses: identify what the stitch is doing, reset the threading path, confirm the needle and bobbin, test on project-matched scraps, and make one controlled change at a time. You will also learn when a symptom points beyond a routine adjustment and deserves professional attention.
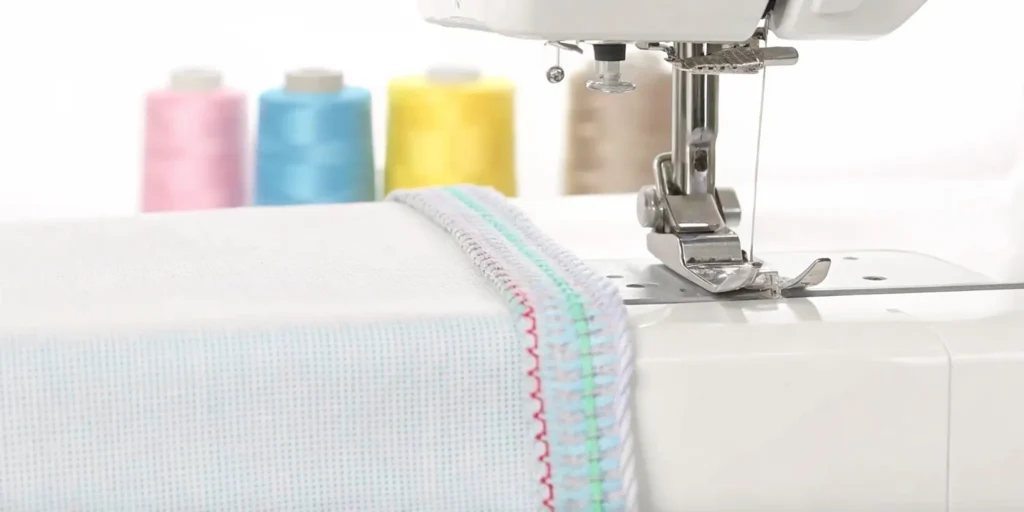
In a standard straight stitch, the upper thread and bobbin thread should interlock within the fabric layers. From the top, you should primarily see the upper thread. From the underside, you should primarily see the bobbin thread. The tiny meeting point between them should sit inside the material rather than being clearly pulled to either surface.
A balanced stitch also lies smoothly against the fabric. It should not create loose loops, pull the material into a ridge, or leave irregular sections where the stitch suddenly changes. On a stable woven cotton, the seam should look even from beginning to end. Specialty fabrics and decorative techniques can look different, so judge the result according to the project and your machine manual.
For diagnosis, place one clearly identifiable color in the needle and a different color in the bobbin. Choose threads of the same appropriate type and similar weight so color is the main difference. Sew a short line on a folded scrap of stable, light-colored woven fabric. The contrasting colors make it easier to see which thread is being pulled to the wrong side.
This is a diagnostic exercise, not necessarily the thread combination you will use in the final project. Once the stitches are balanced, repeat the test with the actual fabric, thread, stabilizer, and number of layers you plan to sew.
When a stitch looks wrong, resist the urge to adjust several controls at once. A tension dial cannot correct a machine that is threaded with the presser foot down, a bobbin that is inserted incorrectly, or a damaged needle. Following a consistent order protects the machine and tells you which change solved the issue.
Complete rethreading is one of the most effective tension fixes, even when the thread appears to be in the right places. Raising the presser foot opens the upper tension discs on many machines. That opening allows the thread to settle between the discs as you guide it through the path. If you thread with the presser foot lowered, the thread may ride outside the discs and create loose loops underneath the fabric.
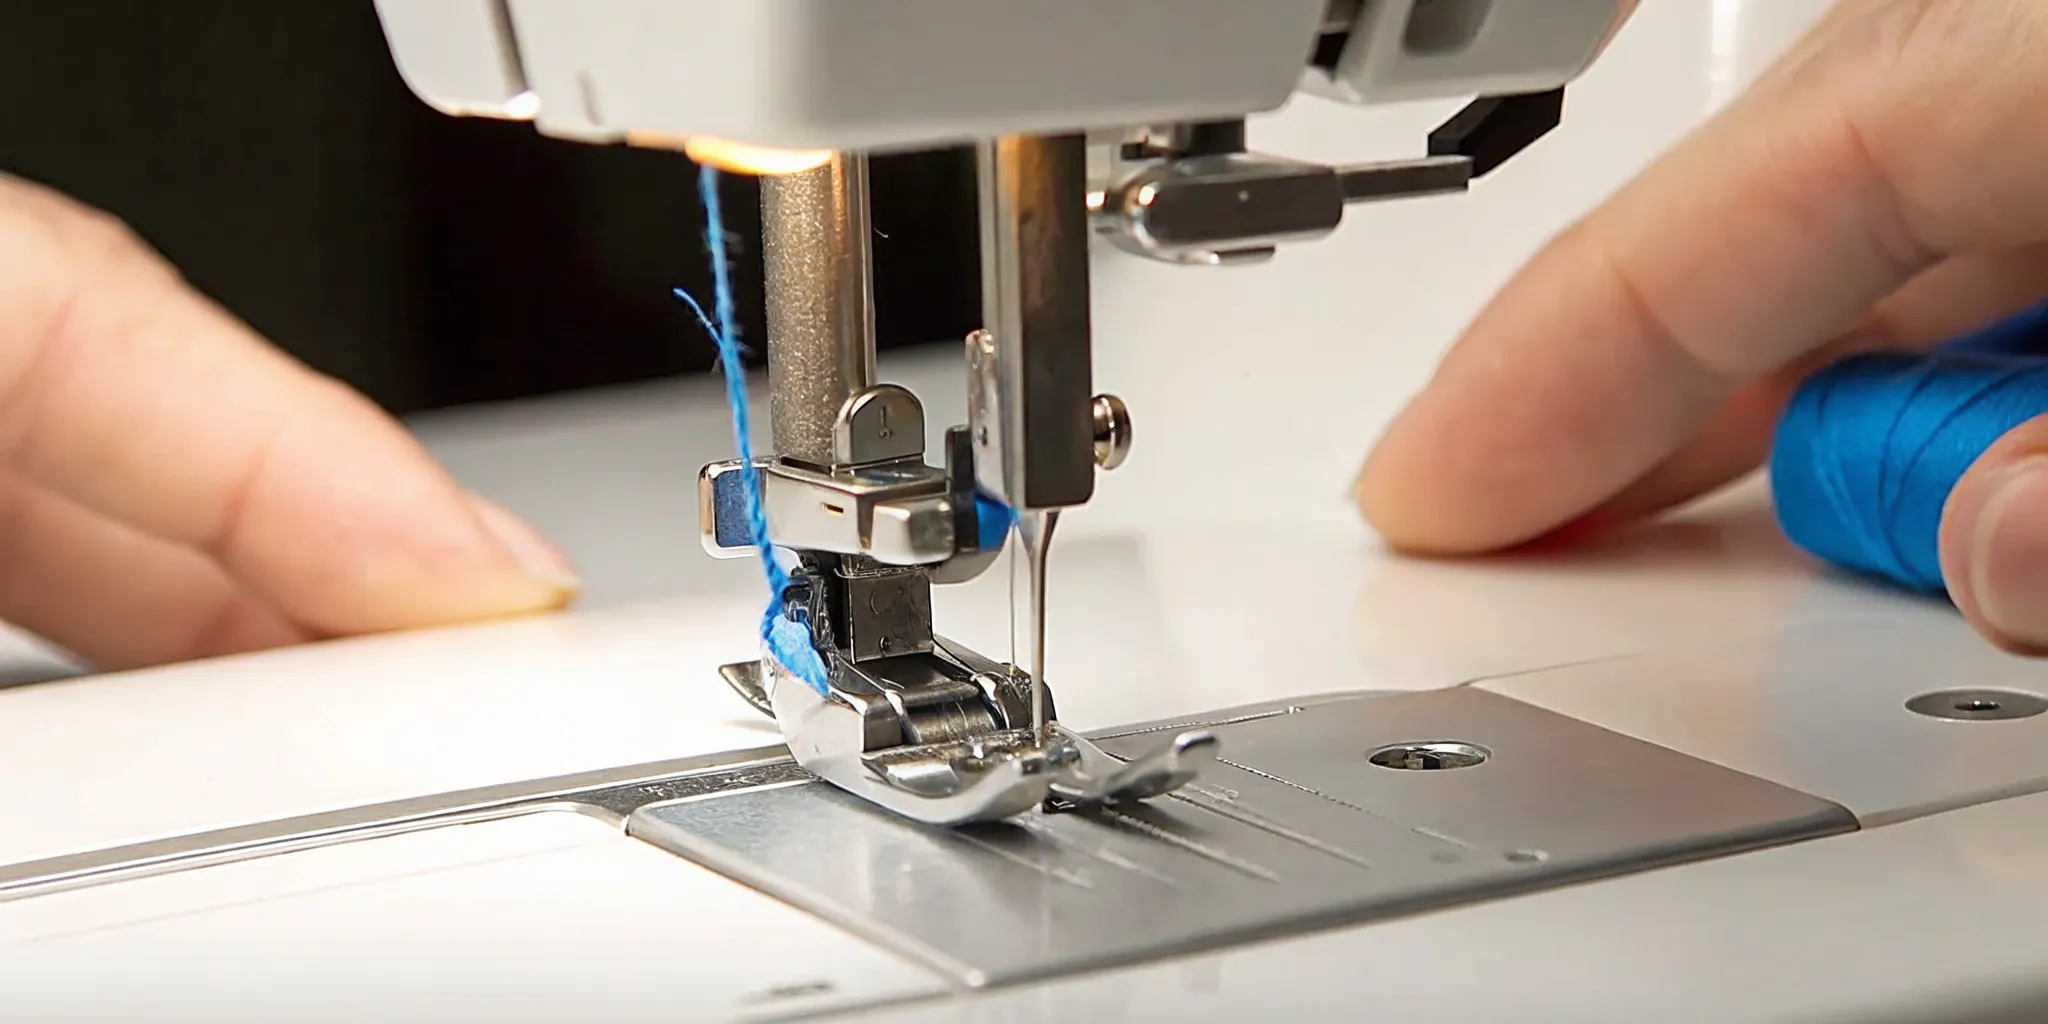
Raise the needle to the position recommended in your manual, then raise the presser foot. Remove the thread rather than trying to push it deeper into the path. Place the spool correctly, install the appropriate spool cap if your machine uses one, and follow every guide in order. Make sure the thread enters the take-up lever and the final guides near the needle. Thread the needle in the specified direction.
Before lowering the presser foot, gently draw the thread through the path. It should move without snagging. Lower the presser foot and compare the feel. A change in resistance can indicate that the tension system is engaging, although the exact feel varies by model. Do not pull forcefully; the goal is simply to notice whether the thread is traveling normally.
The lower part of the stitch deserves careful attention, but careful does not mean immediately turning the bobbin-case screw. Begin by confirming that the bobbin itself belongs in your machine. Bobbins that look nearly identical may differ in height, curve, or construction. The wrong one can sit incorrectly and create erratic stitching or interfere with the bobbin case.
Use the bobbin style specified by the manufacturer. It should be smoothly and evenly wound, without loose areas, crossed sections, or thread piled heavily on one side. Insert it in the direction shown in your manual, then guide the thread through the required slot, spring, and guides. Confirm that the bobbin turns as expected when you pull the thread gently.
Remove lint from accessible areas with the method recommended in the manual. Do not blow lint deeper into the machine, add oil where it is not specified, or use a sharp object near delicate parts. If you see a nick, burr, bent component, or heavy buildup you cannot safely reach, stop and let a technician inspect it.
A bent, dull, damaged, or incorrectly installed needle can cause uneven stitches, skipped stitches, shredding, and puckering that look like tension trouble. Replace it with a fresh needle of the correct system, type, and size for your fabric and thread. Push it fully into position and orient it exactly as the manual directs.
Needle choice matters because the needle creates the path through which the thread travels. A needle that is poorly matched to the material can deflect, struggle to form a loop, or leave a hole that does not support a clean stitch. When a project changes from quilting cotton to knit, denim, or another specialty fabric, reconsider the needle before reaching for the tension control.
A test swatch is your diagnostic workbench. Use the same fabric, number of layers, thread, needle, interfacing, batting, and stabilizer planned for the project. A setting that produces a balanced seam on a single layer of plain cotton may behave differently on a layered bag, stretchy knit, dense quilt sandwich, or delicate garment fabric.
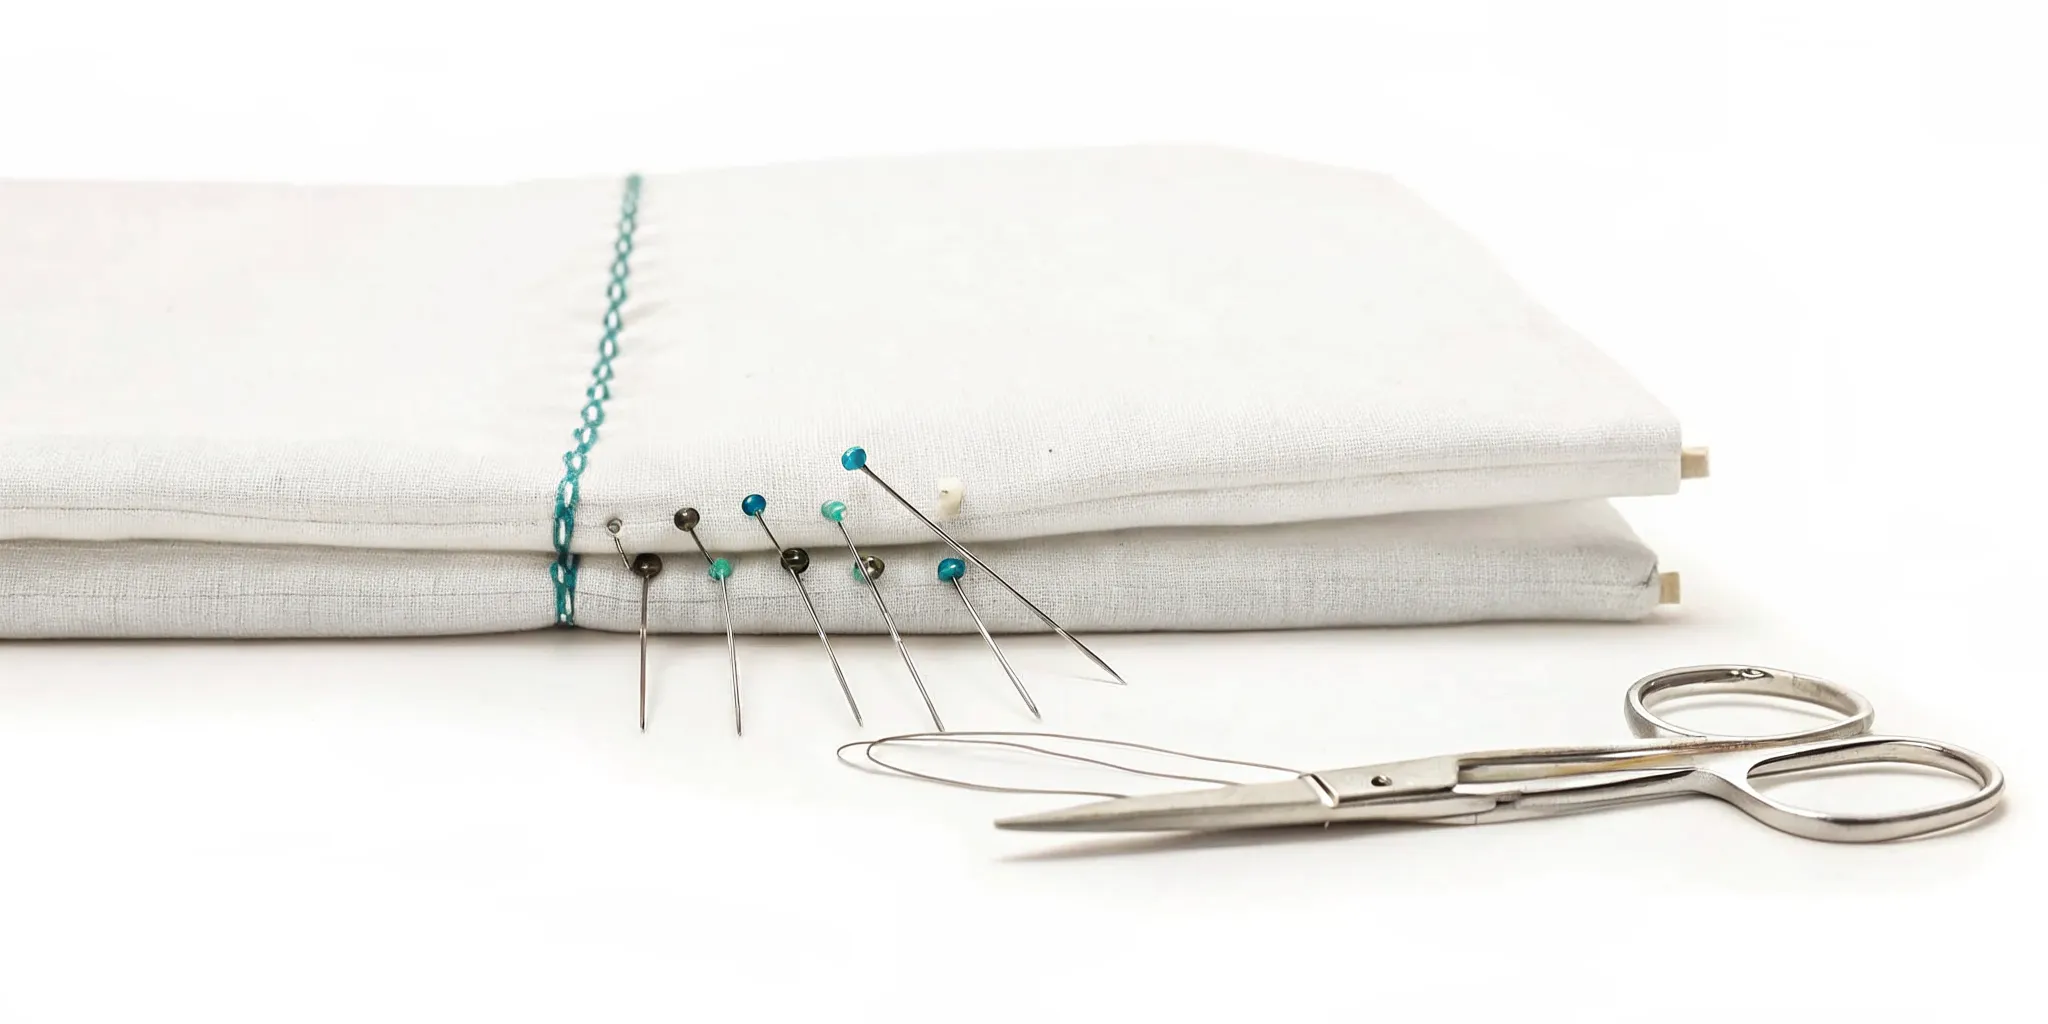
Begin at the default or middle upper-tension starting point recommended by the manual. Sew several inches of straight stitch at a steady, moderate pace. Avoid starting at the very edge if the fabric tends to be pulled into the needle plate. Inspect the entire line from the top and underside, then label the sample with the setting or change you tested.
If a correction is needed, make one small adjustment to the upper tension, sew a new line, and compare. Continue only while the result improves. Changing thread, needle, stitch length, presser-foot pressure, and tension at the same time may produce a better line, but it will not tell you why. Controlled tests create repeatable answers.
If bobbin thread is clearly being pulled to the top, the upper tension may be too strong relative to the lower tension. If upper thread forms loops or is clearly pulled to the underside, the upper tension may be too weak or the upper thread may not be seated in the tension system. Those observations are useful only after you have rethreaded correctly, confirmed the bobbin, changed the needle, and prepared a sound test swatch.
Small upper-tension changes are normally the first adjustment because the control is designed for routine use. Return to the manual’s starting point whenever your tests become confusing. A clean reset is often faster than continuing through a long chain of uncertain changes.
Most everyday balancing should be handled with correct setup and the upper tension control. The upper system is meant to accommodate common changes in fabric, thread, and technique. The bobbin tension is often designed to remain stable for standard sewing and should not be the first variable you change.
Leave the bobbin-case adjustment alone when you are troubleshooting a routine straight stitch, especially if the machine previously sewed correctly with the same bobbin case. First rule out incorrect threading, the wrong bobbin, lint, a damaged needle, or mismatched materials. If multiple bobbins behave differently, compare their type, winding, and condition rather than assuming the case needs adjustment.
Some specialized techniques or machine models use a separate bobbin case or manufacturer-approved lower-tension adjustment. Follow the manual for those situations. If a lower adjustment is truly necessary, mark the original position, make only a very small change, and test after each movement. Better yet, use a dedicated specialty bobbin case when the manufacturer supports that approach, so the standard case remains available for regular sewing.
The location and shape of a problem offer clues, but no symptom has only one possible cause. Use the table as a starting point, then follow the safe diagnostic order rather than jumping directly to the final possibility.
| What you see | Likely checks | Best first action |
|---|---|---|
| Loose upper-thread loops underneath | Upper thread missed tension discs or take-up lever; presser foot was down during threading | Raise the presser foot, remove the upper thread, and rethread completely |
| Bobbin thread showing on top | Upper tension too strong; bobbin inserted incorrectly; lower path obstructed | Confirm the bobbin path, then test a small reduction in upper tension |
| Fabric puckers along the seam | Tension too strong for the material; needle or thread mismatch; stitch or stabilizer issue | Test on matched scraps with a fresh needle and an appropriate setup |
| Stitches alternate between balanced and loose | Thread snag, uneven bobbin winding, missed guide, lint, or damaged part | Inspect both thread paths and replace questionable thread or bobbin |
| Skipped or irregular stitches | Damaged or unsuitable needle; needle installed incorrectly; timing or feeding concern | Install a correct fresh needle and retest |
| Thread repeatedly breaks or shreds | Needle mismatch, burr, snag, incorrect threading, or excessive tension | Stop sewing, replace the needle, rethread, and inspect for rough contact points |
Large loops underneath usually direct your attention to the upper threading path, not automatically to the bobbin. The upper thread may not be seated in the tension discs or take-up lever. Rethread with the presser foot raised, confirm every guide, hold the thread tails as your manual recommends when beginning, and sew a fresh test line.
Puckering can result from excessive thread tension, but fabric structure, needle choice, stitch length, feeding, and stabilizer also matter. Compare a stitched sample with an unstitched scrap. If the material is being distorted, test a more suitable needle and thread, support the fabric appropriately, and make a modest upper-tension change only after the setup is correct.
A tension control usually does not change its own setting from stitch to stitch. When the seam alternates between good and poor sections, look for an intermittent snag, poorly wound bobbin, spool problem, damaged thread, missed guide, or debris. Stop if you hear a new sound or feel the machine resist. Continuing through a jam can turn a manageable issue into a repair.
Successful sewing machine thread tension is project-specific. Heavier, lighter, stretchier, denser, or more delicate materials change how a stitch settles. Thread weight, fiber, finish, and condition affect the path too. Even moving from a construction seam to dense decorative stitching can call for a new sample and a different approach.
When you select a different thread, confirm that the needle eye can accommodate it and that the thread is appropriate for the machine and technique. When you switch fabrics, consider whether the needle point and stabilizer need to change. Then begin again from the manual’s default or middle tension starting point and evaluate the actual stitch.
Do not assume that a more challenging material requires dramatically stronger tension. Often the better solution is an appropriate needle, smoother thread path, correct foot, suitable stabilizer, or refined technique. The goal is not to overpower the fabric. The goal is to help the machine form a consistent interlock without distortion.
There is confidence in knowing what you can safely correct at home, and equal confidence in knowing when to stop. Ask a technician for help when proper rethreading, a correct bobbin, a fresh needle, accessible cleaning, and matched test swatches do not produce consistent stitches. Professional evaluation is also wise if thread repeatedly shreds or breaks, the needle strikes something, controls do not respond normally, or the machine makes a new grinding, knocking, or scraping sound.
A technician can inspect parts of the tension and stitch-forming system that are not meant for routine owner adjustment. They can look for damaged guides, burrs, worn tension components, bobbin-case concerns, timing issues, and other mechanical causes. Bring your problem sample, the thread, bobbin, needle information, and notes about what you already tried. Those details help make the conversation more productive.
For local help, review Rocky Mountain Sewing & Vacuum locations in Colorado and choose the shop most convenient for you.
For a standard straight stitch, the upper and bobbin threads should interlock within the fabric layers. The seam should lie smooth, with no large loops, obvious pulling of one thread to the opposite surface, or distortion along the stitch line.
Loops underneath often mean the upper thread is not seated correctly in the tension discs or has missed a guide or take-up lever. Raise the presser foot, remove the upper thread, rethread the complete path, confirm the needle, and test again before changing tension settings.
No. For routine sewing, first confirm correct upper threading, the right and properly inserted bobbin, a fresh suitable needle, a clean accessible bobbin area, and a project-matched test swatch. Use the upper control for small routine adjustments. Adjust lower tension only when your manual or technique specifically calls for it.
Puckering can involve tension, but it may also come from the fabric, needle, thread, stitch selection, feeding, or lack of suitable support. Test the complete setup on matched scraps. Make one change at a time and compare the result before sewing the project.
Stop when the machine jams, makes an unusual sound, strikes the needle, damages thread repeatedly, or remains inconsistent after basic setup checks. Also stop before opening protected areas or making adjustments not described in the owner manual. A technician can diagnose the machine without adding uncertainty.