

One wrong spool can turn a beautiful embroidery design into a puckered UFO. This machine embroidery thread guide makes those problems easier to solve by showing you how to match the fiber, weight, bobbin, needle, and tension to the project.
Ask our Colorado sewing experts to help you choose an embroidery setup that fits your next project.
A full machine embroidery thread guide starts with knowing that 40wt polyester or rayon is the standard, while 60wt is better for fine details. Polyester offers high strength and holds its color for items that need washing, but rayon provides a softer feel and high shine for fancy clothes. These special threads have less twist than sewing thread to allow the fibers to spread and give you even cover across the fabric. According to Bernina, you must also use the right needle size to keep proper tension and avoid thread breaks. Picking the right fiber and weight prevents bulk in small letters and ensures your finished projects have an expert, strong finish that lasts for years.
Picking the right supplies for a new design can feel hard if you are not sure where to start. We want to help you find the best items for every fabric and stitch style. The path begins with the project.
Every great piece of art starts with a plan. In the world of thread, your goal decides what you should buy. You do not want to use the same spool for a heavy quilt that you would use for tiny names on a silk shirt. A Floriani embroidery thread set matched to your project helps the work go smoothly and look great. We always tell our friends at the shop to think about the fabric and the use first.
The job of the item tells you which thread to use. For things you wash a lot, like towels or kids’ clothes, you need a tough option. Polyester thread is very colorfast and works well for items that get lots of use. Many people like it because it does not fade in the wash. For a high shine, rayon is a top choice. Rayon thread is known for its soft texture and high sheen, but it is not as strong as polyester.
Matching your needle to your thread is also key to a clean look. A small needle like size 80/12 is often best for fine fabrics during machine embroidery. If you use the wrong size, you might see loops or holes in your work. We want your projects to last for years, so we help you find the best match for your specific machine and hoop.
Thread weight is a number that tells you how thick the strand is. Most designs you buy are made for 40wt thread. This is the standard thread weight for most projects. If your design has very small words or tight lines, you might need 60wt thread. This thinner thread helps small details stand out without looking messy. Using the right weight keeps your machine running smooth and helps you avoid jams.
| Project Type | Best Thread Type | Suggested Weight | Key Benefit |
|---|---|---|---|
| Garments & Shirts | Rayon or Poly | 40wt | Soft feel and bright color |
| Towels & Linens | Polyester | 40wt | Stays bright after many washes |
| Fine Lettering | Poly or Rayon | 60wt | Clear edges on small fonts |
| Quilts | Cotton or Poly | 40wt | Blends well with fabric |
| Metallic Accents | Metallic | 40wt or 50wt | Adds spark and holiday flair |
| Lace Designs | Rayon or Poly | 40wt | Provides full stitch coverage |
Thread weight controls coverage and detail: 40wt is the versatile standard for most designs, 60wt keeps small lettering crisp, and heavier thread creates a bolder effect only when the design, needle, and tension support it.
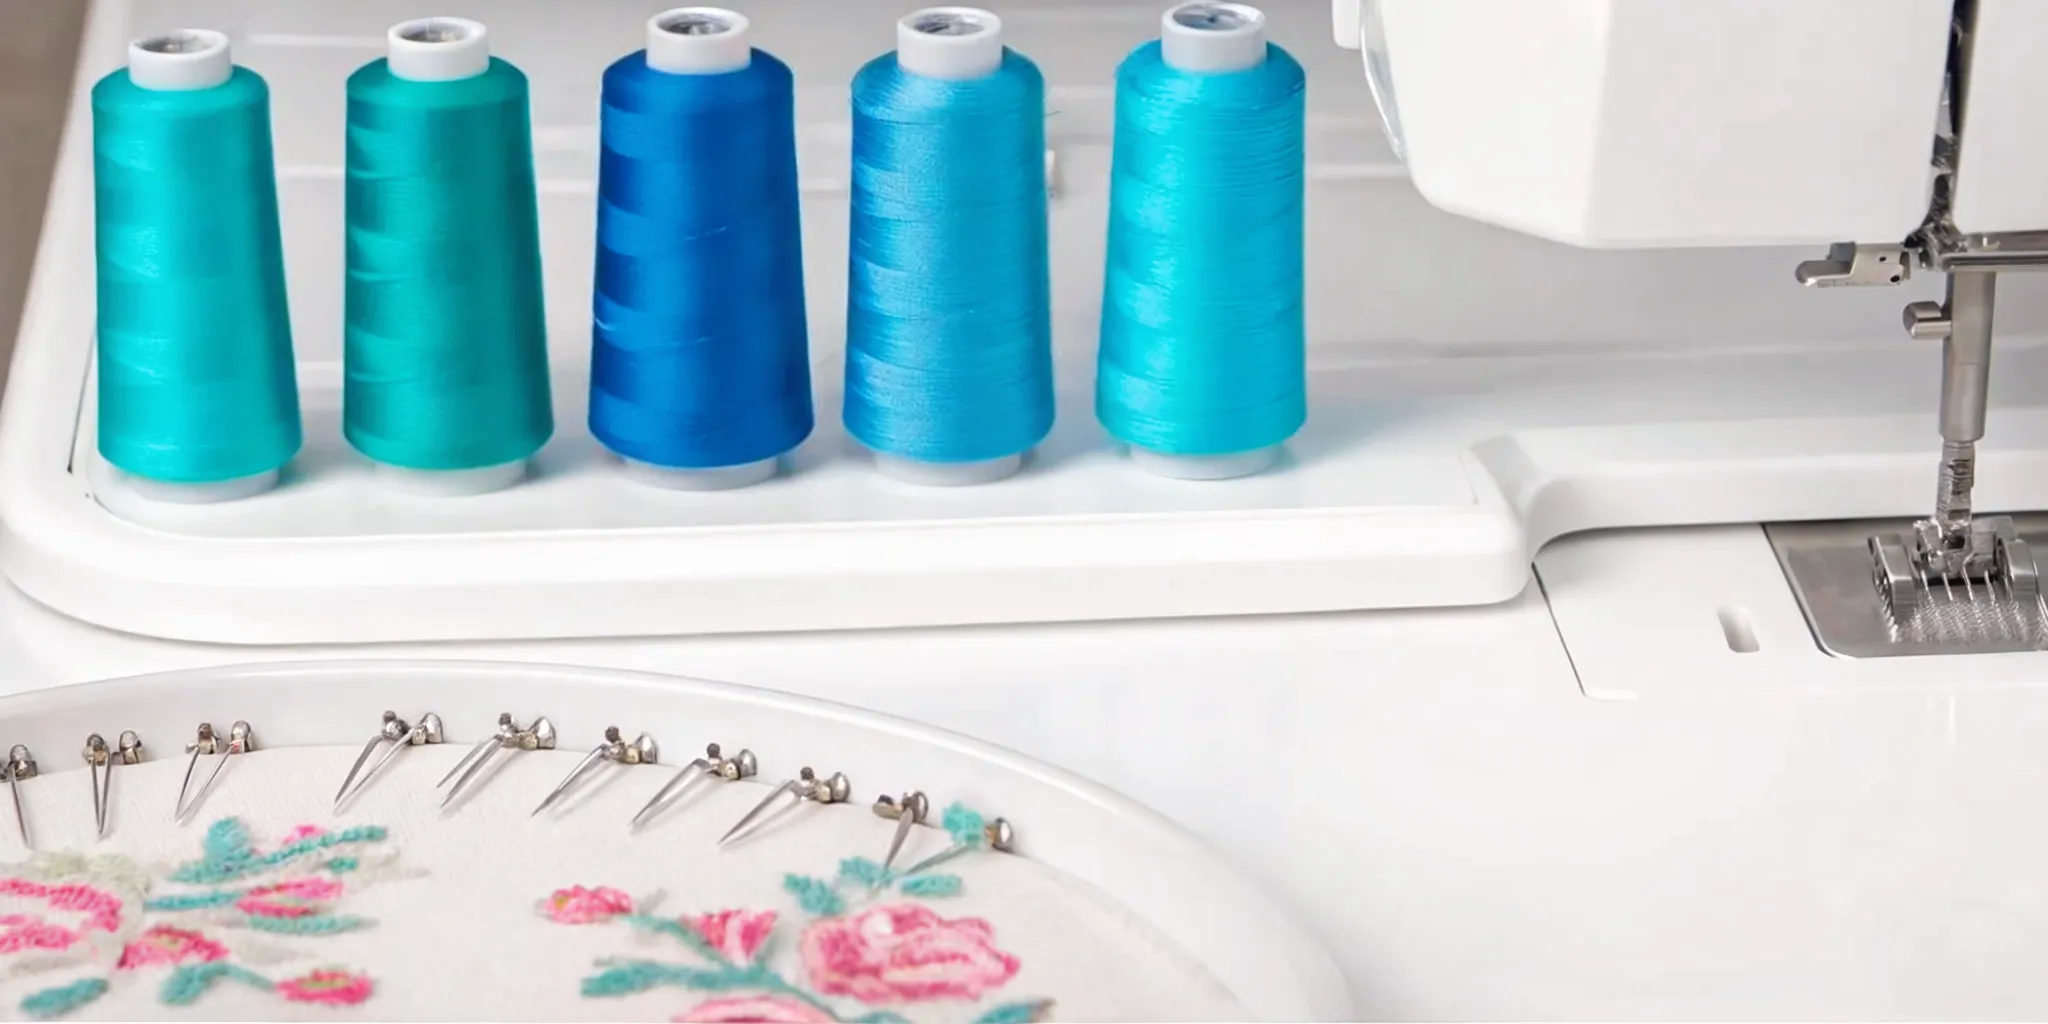
Thread weight tells you how thick or thin a thread is. This number is key for getting the look you want. Most makers use a standard weight, but changing it can solve many craft problems. When you match your thread to your project, your work looks crisp and lasts a long time.
Most machine designs are built for 40 weight thread. This is the normal size for almost any job. It fills spaces well and shows off the bright sheen of the fibers. If you buy a pattern, the artist likely made it for this size. You can learn more about essential embroidery features to see how your machine handles these common supplies.
A 40 weight thread is strong enough for most tasks but thin enough to stitch fast. It works well on clothes, bags, and home decor. Since it is so common, it comes in the most colors. Most people keep a full set of this weight in their sewing room to start any new WIP or project.
Sometimes a 40 weight thread is too thick. If you stitch very small letters, the lines may look messy. This is when you should use a 60 weight thread. This thread is thinner than the standard choice. It is the best pick for tiny fonts or very tight patterns. It lets you create sharp lines that do not bulk up or overlap too much.
Using a thin thread helps you avoid thick spots on your fabric. It is a smart move for light fabrics where you want a soft feel. Experts suggest using an 80/12 needle when working with these fine materials to keep the stitches neat. You can check out this machine embroidery guide for more on choosing the right tools for your fabric. Pair this with the right embroidery needle pairing to get the best results on your next design.
You can also find thicker threads like 12 or 30 weight. These give a bold, hand-stitched look to your work. But you cannot just swap them in without a plan. Thicker threads take up more room on the cloth. If the stitches are too close, the thread might break or the fabric could pucker. You must lower the stitch density in your design software to make room for the extra width.
When you use heavy thread, you also need a bigger needle. A size 90/14 needle is often a good choice for these bold projects. This ensures the thread can move through the eye without fraying. Using the right needle helps keep your machine running smooth and keeps your tension in check. Making these small changes allows you to create unique textures that stand out on any piece of art.
Choose polyester for durability and frequent washing, rayon for a soft high-shine finish, and cotton for a matte, natural look. Always test specialty fibers such as metallic thread with the correct needle and a slower stitch speed.
Picking the right fiber is a key part of any machine embroidery thread guide. Your choice affects how your work looks and how well it lasts over time. Most makers start with polyester or rayon, but other options like cotton and metallic have set uses for custom work. Each fiber type reacts in different ways to heat, washing, and high-speed stitching.
Polyester is a top choice for items that see a lot of use. It is very strong and resists breaking even at high speeds. This fiber is colorfast, meaning the dye stays in the thread during a hot wash. Some polyester threads can even handle water up to 95 degrees Celsius without fading. If you are making clothes for kids or outdoor gear, this is the best option.
This thread also has high tensile strength, which helps it stand up to the pull of fast machines. When you look at essential embroidery features, you will see that modern machines handle polyester very well. It is less likely to fray or snap than softer fibers. This makes it a great choice for new folks who want to avoid thread breaks.
Rayon is known for its soft feel and high sheen. It reflects light well, which gives your art a rich look. Many pros prefer rayon for fancy pieces or decor that will not be washed often. While it is not as strong as polyester, its smooth feel allows it to glide through cloth with ease. It is often the best pick when you want a high-end look for a gift or a wall hanging.
Because rayon is more fine, you must watch your dial closely. Proper thread tension is vital to keep rayon from looping on the fabric. If the pull is too tight, the thread may snap. If it is too loose, the stitches will look messy. Testing your design on a scrap piece of cloth first is a smart way to ensure your rayon thread works right.
Cotton thread offers a matte look that works well for quilting or old-style crafts. It does not shine like polyester or rayon, which gives it a more natural feel. Cotton is also a good choice if you want your stitches to blend in with the base fabric. Since it can produce more lint, you should clean your machine often when using it. Always use the lockout key on your machine when you reach inside to clean or change threads to stay safe.
Metallic threads add sparkle to your work but can be hard to use. They often have a thin metal foil wrapped around a core, which makes them prone to kinking. To get the best results, you should slow down your machine speed. Pairing the right thread with the right needle is also a must. You can learn more about embroidery needle pairing to find the best match for these other fibers. Using a larger needle eye can help metallic thread pass through without catching.
At Rocky Mountain Sewing & Vacuum, we often help guests pick the best fiber for their goals. Whether you are sewing on a PFAFF or a Viking, the thread must match the task. High-ticket items like winter coats need the strength of polyester. On the other hand, a silk scarf might call for the soft touch of rayon. We believe in finding the right tool to help you say yes to every new hobby project.
Embroidery bobbin thread is thinner than most top thread, so it reduces bulk and helps the top thread form balanced stitches. Use the bobbin type and size approved for your machine, then test before starting a long design.
Most people focus only on the top thread. But the bobbin thread is just as vital for a great look. This thread sits on the bottom of the stitch. It pulls the top thread down to lock it in place. Without the right bobbin thread, your design may look messy. It could also feel too thick or stiff. Picking the right thread helps you create smooth work every time.
You should not use top embroidery thread in the bobbin. Most top threads are 40wt. This makes them thick and shiny. Instead, proper bobbin thread is much thinner. This thinness helps the machine create a flat, soft back on the fabric. If you use thick thread on both sides, the design will be too heavy. This can lead to thread breaks and puckers in the cloth.
A thin bobbin thread also helps with stitch balance. The top thread should show on about two-thirds of the back. The bobbin thread should stay in the center. This balance keeps the design secure and smooth. It also stops the bobbin thread from showing on the front side. Setting thread tension is a common way to fix balance issues. Getting this right is a key part of embroidery needle pairing and setup.
You can buy prewound bobbins or wind them yourself. Prewound bobbins are common because they are even and tight. They often hold more thread than a bobbin you wind at home. This means you can stitch longer without stopping to refill. Many pros love them because they save time and give steady tension. They are a trusted choice for big projects.
Self-wound bobbins let you choose any color or fiber you need. This is helpful if you want the back of the work to match the fabric. But you must be careful when you wind them. Thread that is not smooth can cause the machine to skip stitches. Always check your bobbin for cracks or damage before you start. A damaged bobbin can hurt your machine or cause harm during use.
Every machine needs a set bobbin type. Some use a flat style. Others need a curved top. You must check your owner book to find the right match. Using the wrong size or shape can lead to big problems. It might cause the thread to jam or even break the bobbin case. At Rocky Mountain Sewing & Vacuum, we suggest keeping extra bobbins of the right type on hand to avoid downtime.
Proper care of your bobbins will help your machine last longer. Avoid using bobbins that have rough edges or old thread on them. Clean the bobbin area often to remove lint. This simple step keeps your stitches smooth and your machine happy. If you are new to this, our team in Colorado can help you find the right supplies for your machine model.
Matching your supplies is a key step to getting great results. Think of your setup as a team. If one part does not fit, the whole project can fail. You need to look at the weight of your thread and the type of cloth you want to use. Then, you can find the right needle to pull it all together. This keeps your machine running well and your stitches looking sharp.
Most machine embroidery designs use a standard 40wt thread. This weight works best with an 80/12 needle for many medium fabrics. If you work with very thin or fine cloth, a size 12/80 or blue tip needle is a smart pick. For thicker or heavy items, you may need to move up. A size 90/14 needle helps thread move through tough layers without breaking. Selecting the best embroidery needle pairing ensures your thread has enough space to glide through the needle eye.
The tip of your needle matters as much as the size. Sharp points are great for woven fabrics because they pierce the threads cleanly. If you sew on knits or stretchy cloth, use a ballpoint needle. These have a rounded end that pushes fabric threads aside instead of cutting them. This prevents holes from forming as you stitch. After selecting a supportive embroidery stabilizer, check that your needle point also matches the project fabric.
Explore a current sewing and embroidery machine or compare embroidery machine features before your next upgrade.
Always use a fresh needle for every new project. A dull needle can cause thread breaks or snag your cloth. If a needle breaks while you work, put it in a safe sharps container. Keeping your tools in top shape is the best way to avoid Sewing Machine Repair and keep your hobby fun.
To prevent thread breaks, rethread the machine, replace the needle, confirm the needle and thread sizes match, and test tension at a moderate speed. If breaks continue in the same spot, inspect the thread path and design density.
Thread breaks are one of the most common issues when you start machine embroidery. It is hard to stop your project every few minutes to rethread. However, most breaks happen because of a few simple factors. By using a step-by-step approach, you can find the cause and get back to your craft.
The first step is to check how the thread moves through your machine. Even a small slip can cause the thread to catch or snap. Make sure the thread is seated deeply in the tension discs. If you need to rethread, always use your machine’s lockout key to stay safe while you work. Experts at UNC Charlotte say the flat side of your needle should face the back. This helps the needle stay in place and work well.
Do not forget the bobbin. Using a special bobbin thread is vital for good results. Standard sewing thread in the bobbin is often too heavy for embroidery. This extra weight can pull on the top thread and cause it to break. Check your bobbin for any cracks or damage before you begin. A rough edge on a plastic bobbin can snag the thread and cause a break.
Your choice of tools makes a big change in how well your machine runs. Most designs are made for a standard 40wt thread. If you use a thread that is too thick or too thin, the machine may struggle. Using a proper embroidery needle pairing is also key. A special embroidery needle has a larger eye and a deep groove to protect the thread as it moves at high speeds.
The size of your needle should match your fabric. For fine fabrics, an 80/12 needle is a good choice. If you are working with heavier items, you may need a 90/14 needle. Using the wrong size can lead to skipped stitches or breaks. If you find your thread snaps often, try switching to a polyester thread. Polyester has more strength than rayon and can handle the stress of dense designs better. Keep your thread in a cool, dry place to keep it from getting brittle over time.
Tension is the balance between your top thread and your bobbin. If the top tension is too tight, the thread will snap. If it is too loose, you will see loops on the bottom. You must find the right tension setting for each project. Each project will need its own level of pull. Always clean your tension discs to remove lint that can cause uneven pressure on the thread.
Start with a test stitch on a scrap piece of fabric to see how the threads pull. This simple step can save you a lot of time and thread. Last, think about the speed of your machine. While it is easy to want to finish quickly, high speeds can heat up the needle. This heat can weaken the thread and cause it to snap. Slowing down just a bit can help the thread move smoothly and keep your stitches clean.
Make sure your fabric is tight in the hoop. If the fabric bounces or moves, the needle may not hit the right spot. This “hoop bounce” can cause the thread to catch and break. If you still have trouble after checking these steps, we can help with expert service. You can visit one of our stores in Colorado or join one of our sewing classes to learn more about machine care.
Puckering usually comes from inadequate stabilization, overly tight tension, fabric stretched in the hoop, or excessive stitch density. Test the complete setup on scrap fabric and change one variable at a time.
Puckering is an issue in machine embroidery. It happens when the fabric pulls or bunches around the stitches. This can ruin the look of your project. Many people think the thread is the only cause. But puckering often comes from how the fabric, hoop, and machine work as one. You must look at the whole system to find the fix.
A good stabilizer is key for any design. It supports the fabric so it does not shift while the machine moves. You should always attach stabilizer to the back of your cloth. Without this layer, the dense stitches will pull the fabric inward. This creates small folds and lumps. Choosing the right weight for your fabric will keep your work flat and smooth.
Heavy fabrics need strong stabilizers to hold up well. Light fabrics may need a wash-away type to avoid stiffness. You also need to check your embroidery needle pairing to make sure it goes through the layers with ease. A dull needle can drag on the fibers and cause the fabric to bunch. Changing your needle for each big project helps prevent these problems.
Correct tension is vital for clean results. If the top thread is too tight, it will pull the fabric into the bobbin area. This force creates tight puckers along the edge of the design. You must check your thread tension to keep the stitches even. Small changes to the machine settings can make a big shift in how the thread sits on the fabric.
Stitch density also plays a part in puckering. Large designs with many layers of thread put more stress on the cloth. If the stitches are too close, they can push the fabric out of shape. You might need to use a finer 60wt thread for these tight spots. This thinner thread takes up less space and reduces the bulk that leads to bunching.
How you hoop your fabric is the last step in stopping puckers. The fabric should be flat but not stretched. If you pull it too tight in the hoop, it will snap back once you take it out. This snap causes the fabric to shrink around the embroidery. You want the hoop to hold the fabric firm like a drum. Do not tug on the edges after you close the hoop.
Check your embroidery hoop sizes before you start. A hoop that is too large for the design can allow the fabric to move too much. Using the right size keeps the pull steady across the whole area. Testing your design on a scrap piece of fabric is a smart move. This lets you check for puckering before you sew on your final item. Taking time to prep will help you get the best results every time.
Build your skills in a Rocky Mountain Sewing & Vacuum class.
Machine embroidery threads are unique because they have less twist than standard sewing threads. This design helps the fibers spread out and cover the fabric better. If you use the right thread, your designs will look full and smooth without any gaps. Based on a guide from Sewing Parts Online, these threads are made to handle the fast speeds of common machines. They also keep a bright shine and a soft feel on the surface of your finished craft project.
Puckering happens when your fabric is too loose or your thread is too tight. To stop this, you must stretch your cloth very tight in the hoop. You also need to add a good stabilizer to the back of your fabric. This gives your work more support while the machine stitches. As noted by UNC Charlotte, using the right stabilizer for your fabric is a key step. This helps you get a flat and neat finish on your projects.
Thread breaks often happen because of tight tension or a dull needle. You should check your machine to see if the thread can move freely. Using a special embroidery needle can also help you avoid this problem. A blue tip or size 80/12 needle is a great choice for many tasks. At Rocky Mountain Sewing & Vacuum, we find that regular care and the right tools help you avoid common issues. As experts from Kansas State University say, these steps will keep your machine running well.
When you change your needle, the flat side must face the back of the machine. This puts the needle in the right spot so the machine can make clean stitches. As noted by UNC Charlotte, you should also use the lockout key on your machine when you do this. This keeps you safe from any harm while you work. Proper needle setup is a simple but key step for every maker. It helps you get the best results from your machine and protects your fine fabrics from damage.
Choosing the wrong thread can lead to frayed edges, bird nests, or broken needles that stall your work flow and ruin your fine fabric. If you wait to find the right fiber, you risk wasting hours on a design that fades or falls apart after just one wash. Getting the right supplies today ensures your work looks crisp and holds its beauty for years while saving you from the stress of machine tension issues.
Ready to explore embroidery supplies and machines or contact our team for guidance? Call 916-849-1045 to talk to a sewing expert who can help you match your project with the right bobbin thread and needle pairing.